How to Run CRON Jobs in Postgres Without Extra Infrastructure

I had the pleasure to spend nearly 3 years working on live video infrastructure at TV2 Norway. As you know, when it comes to infrastructure, time IS money. Everything needs to be just-in-time, especially when it comes to provisioning costly components like encoders. For example, if there's a major live sports match scheduled, you want to ensure the streaming infrastructure is set up just minutes before kickoff, and torn down shortly after the final whistle blows.
The fact is, scheduling is synonymous with infrastructure complexity. But sometimes you're just working on your trusty little Node app, and all you really need is something simple — like sending a daily reminder to users about today's coding challenge. That's exactly the kind of lightweight scheduling we'll dive into in this article.
Scheduling Jobs with Wasp and PgBoss
What is PgBoss?
PgBoss is a job queue built on PostgreSQL. It leverages the database's reliability, transactional safety, and scalability to manage background jobs efficiently. Unlike Redis-based queues, PgBoss doesn't require additional infrastructure — just Postgres, which is a great fit if you're already using it as your database.
Key features:
- Transactional safety – jobs are stored in Postgres, ensuring they survive crashes.
- Retries & timeouts – failed jobs can be automatically retried.
- Scheduling – supports both delayed and recurring (CRON) jobs.
- No extra infrastructure - only Postgres needed.
Why Wasp Makes It Even Better
Wasp is a full-stack framework for React & Node.js that simplifies web app development by handling boilerplate for you. When combined with PgBoss, Wasp provides:
- Declarative job definitions – define jobs directly in your Wasp config.
- Everything just works – no need to manually set up workers or queues.
- Type safety – jobs are type-checked, reducing runtime errors.
NOTE: Since PgBoss runs in the same process as your Wasp app, CPU-heavy jobs can impact API responsiveness. For high-load scenarios, consider offloading to a dedicated worker process.
When Should You Consider a Different Solution?
For most side projects and early-stage startups, this setup will work perfectly fine. As a rule of thumb, if you're processing less than 1000 jobs per day or your jobs are mostly lightweight operations (like sending emails or updating records), you can stick with this solution.
However, you might want to consider a dedicated job processing system when:
- Your jobs take more than a few seconds to complete.
- You're processing thousands of jobs per day.
- Your jobs involve heavy computational tasks (like image processing or data analysis).
- You need to scale job processing independently from your main application
A dedicated system means running your jobs on a separate server or process, isolated from your main application. This prevents long-running jobs from affecting your app's performance.
But remember: premature optimization is the root of all evil. Start with this simple solution, and only upgrade when you have concrete evidence that you need something more robust.
We'll look at two use cases:
- One-time scheduled jobs (e.g., send a reminder email at a specific time).
- Recurring (CRON) jobs (e.g., daily digest emails).
We are going to use the Wasp Tennis Score example app to demonstrate the functionality.
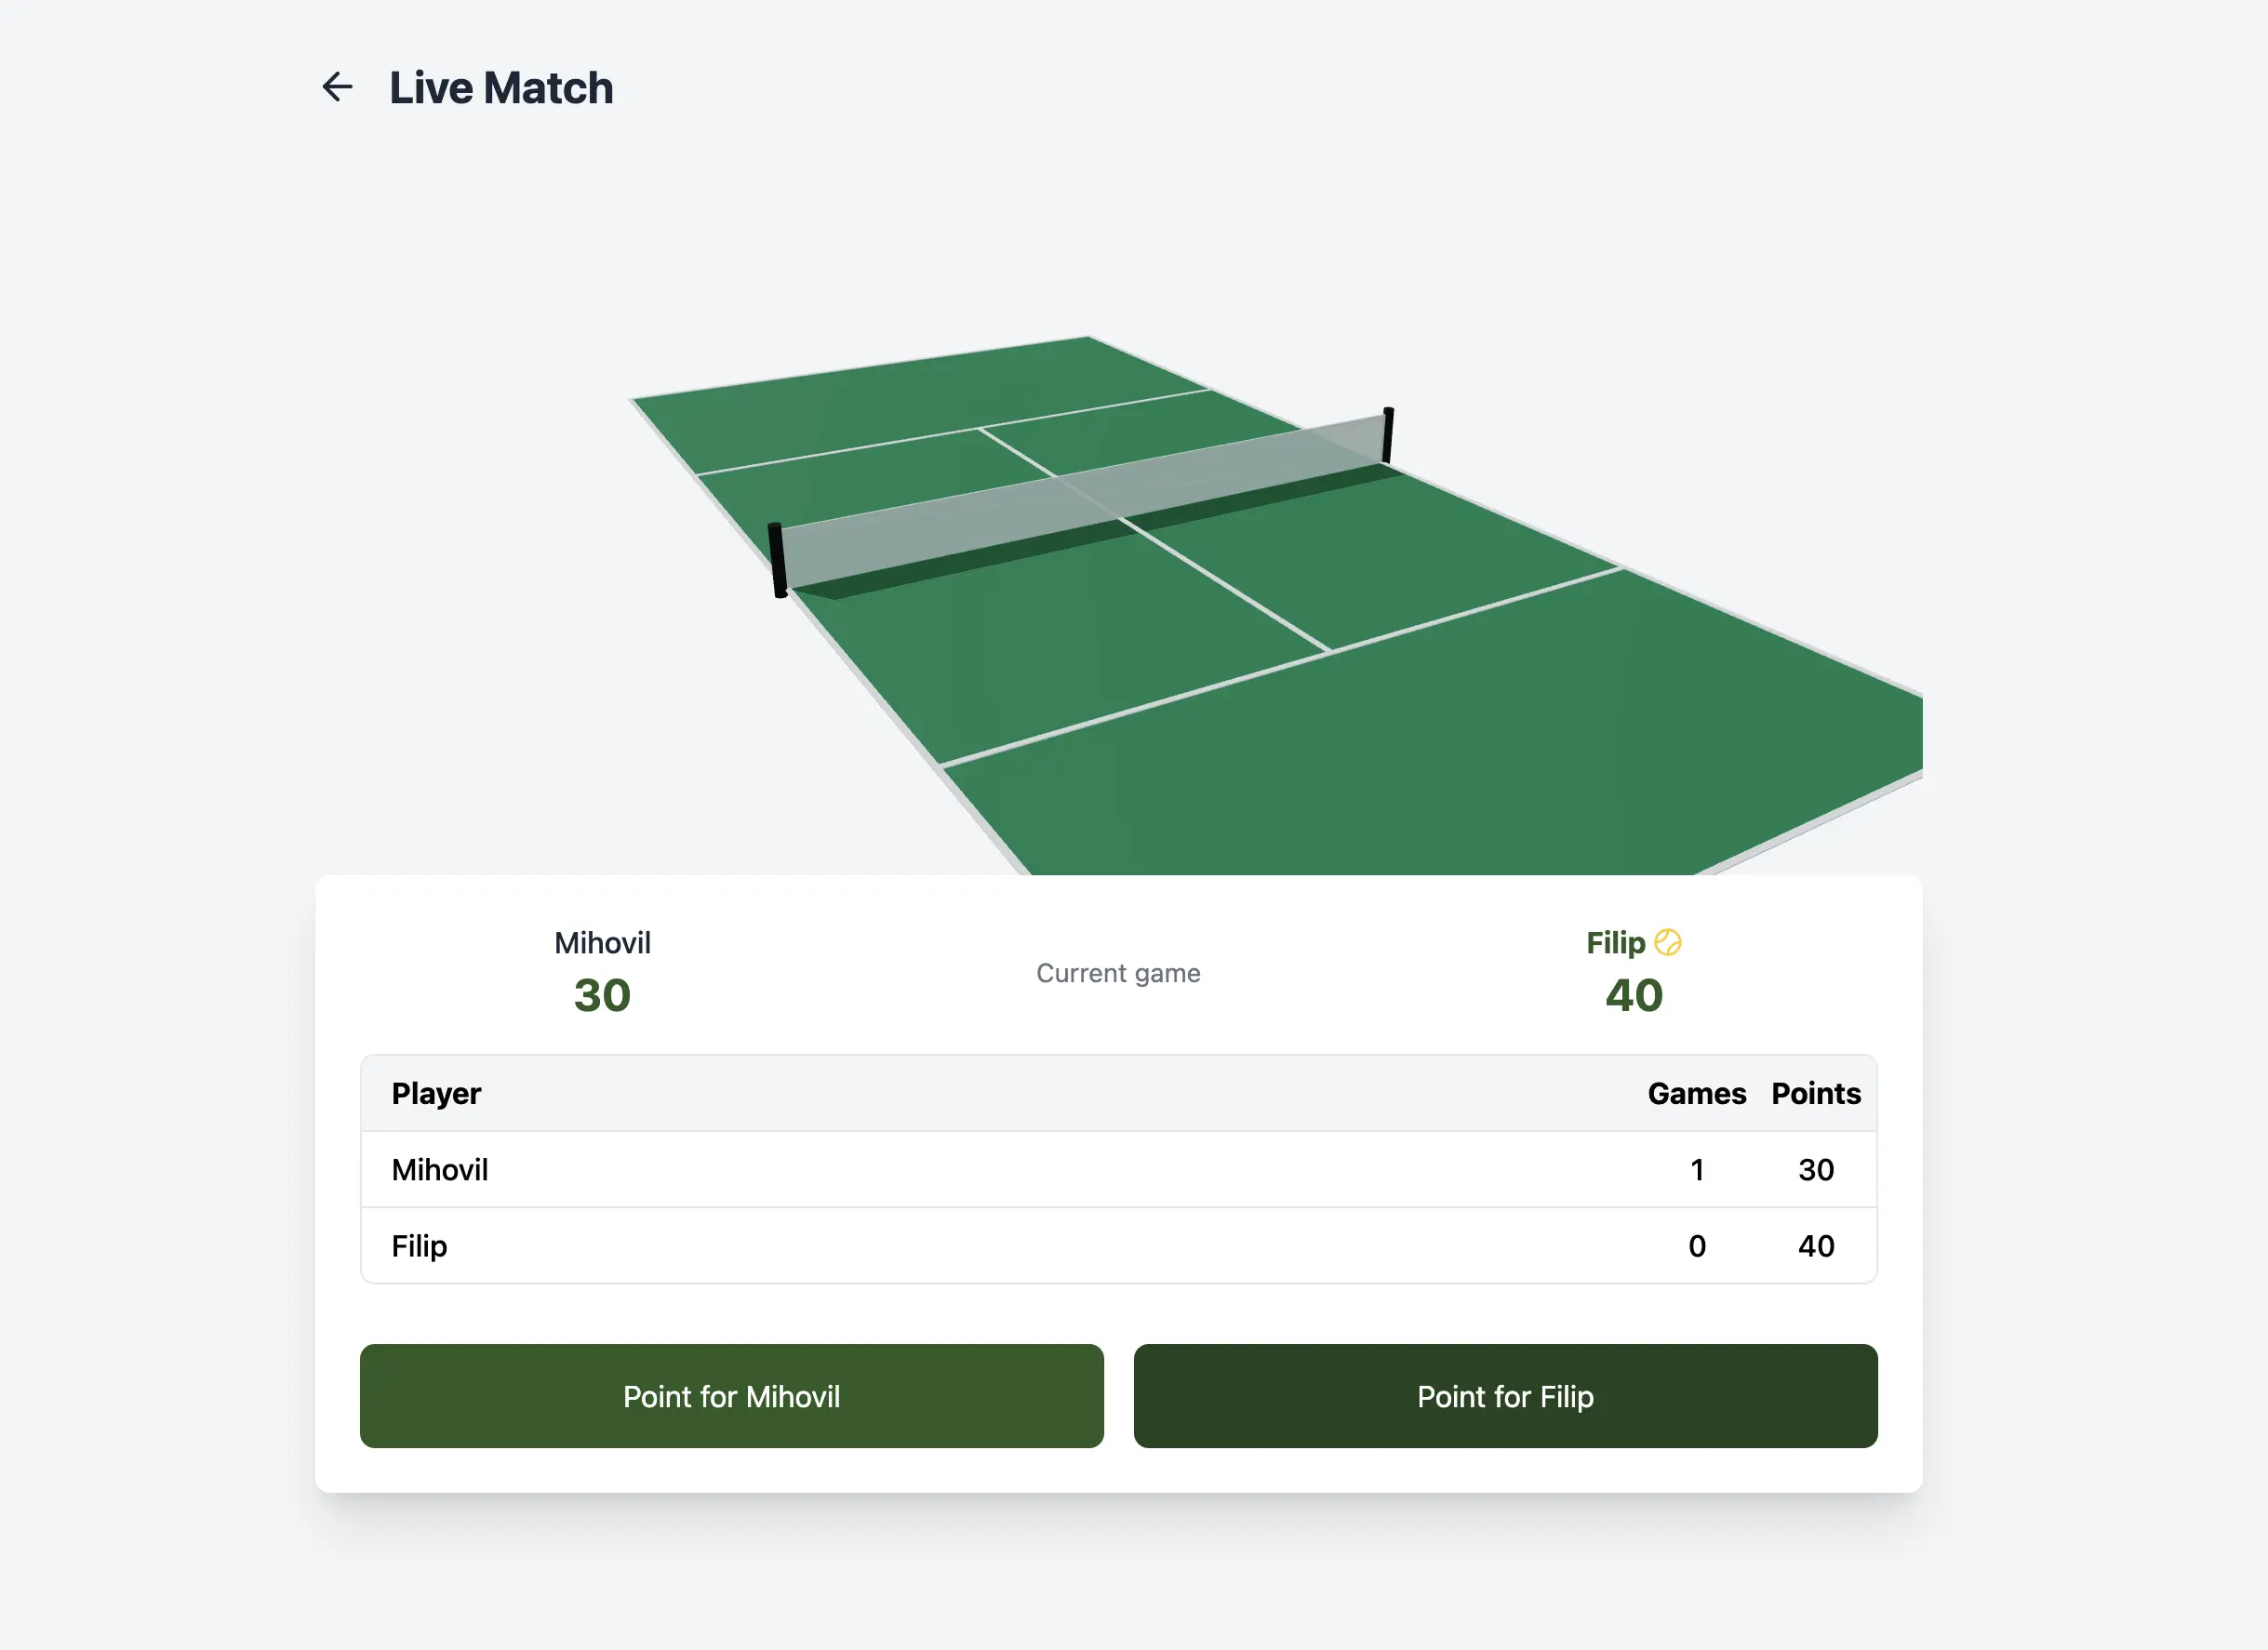
This is a neat little tennis score tracking app we've built. Think of it like this: you're running a tennis tournament and need to keep track of who's winning. The judges can punch in scores as the matches happen, and everyone watching can see the results.
To run the app, you'll need to clone the repo, create a new .env.server file (copy example.env.server as a starting point), populate it with the required values and execute the sequence of commands listed in the README file here.
Requirements:
- Node.js ≥20 installed — I recommend using nvm.
- A Postgres database connection URL — but in our case for development you can just use
wasp db start. - Google OAuth credentials (Client ID and Client Secret)
- Mailgun config (API Key, Domain, API Url)
How to Create Scheduled Jobs with Wasp
After cloning the repository, you can check out the working example implementation of the scheduled job feature by running the following command:
git checkout scheduled_job_added
Start the app with wasp start and authenticate with Google.
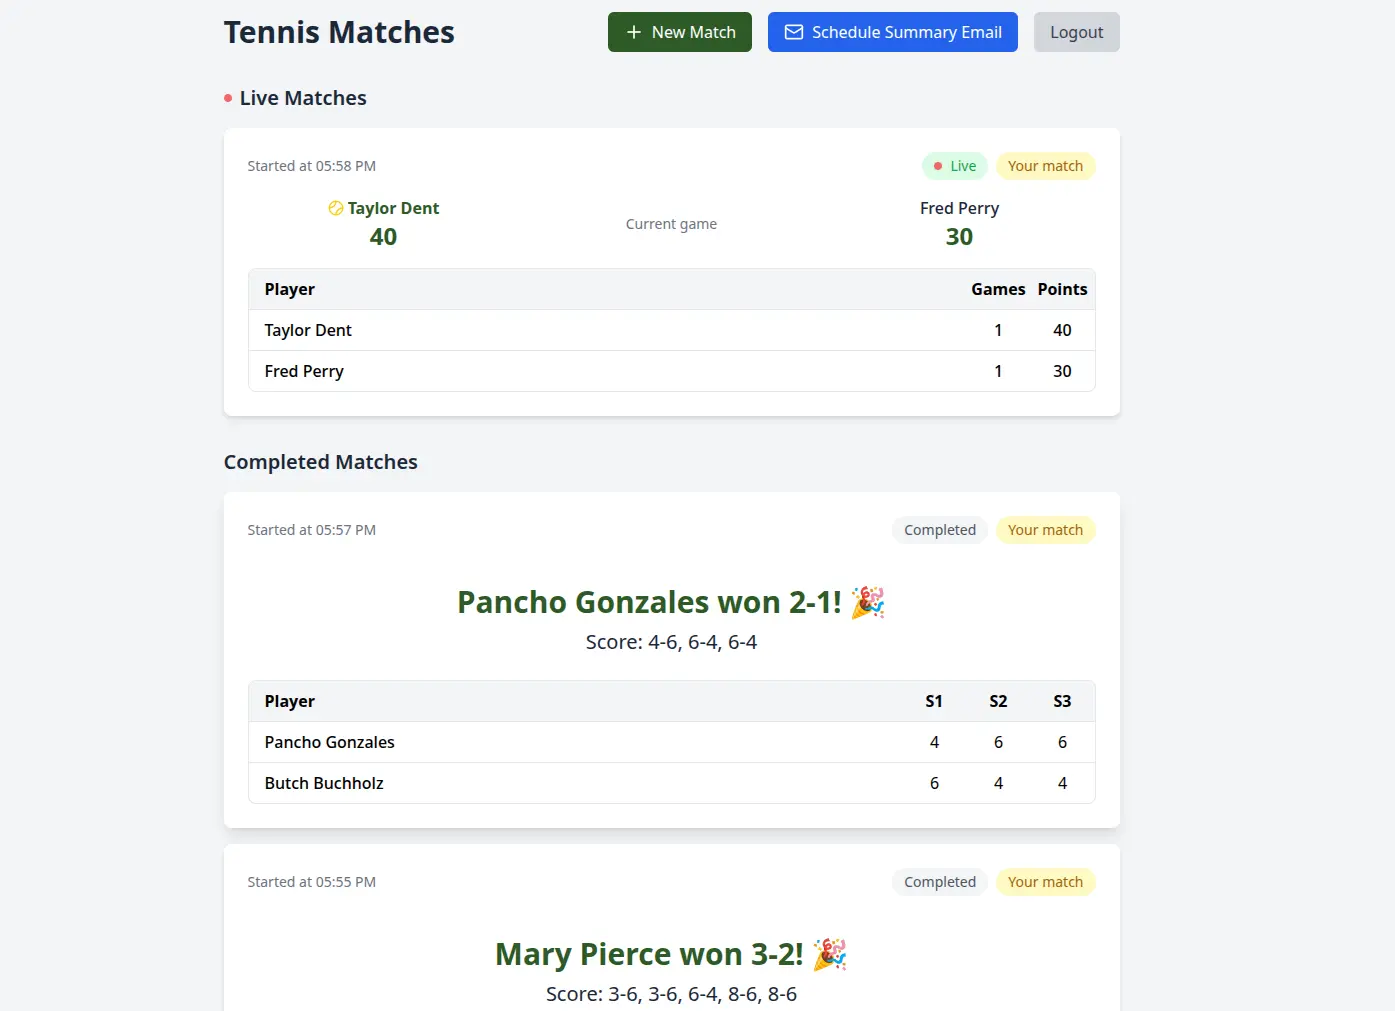
You'll be met with a UI that displays a list of tennis matches. Ongoing (i.e. Live) matches on the top and Completed Matches below.
In the header you will find a "Schedule Summary Email" button. That button is configured to send you a summary of the previous day's matches to your email.
Click the button and check the email address linked to your Google account. You should see something similar to the screenshot below.
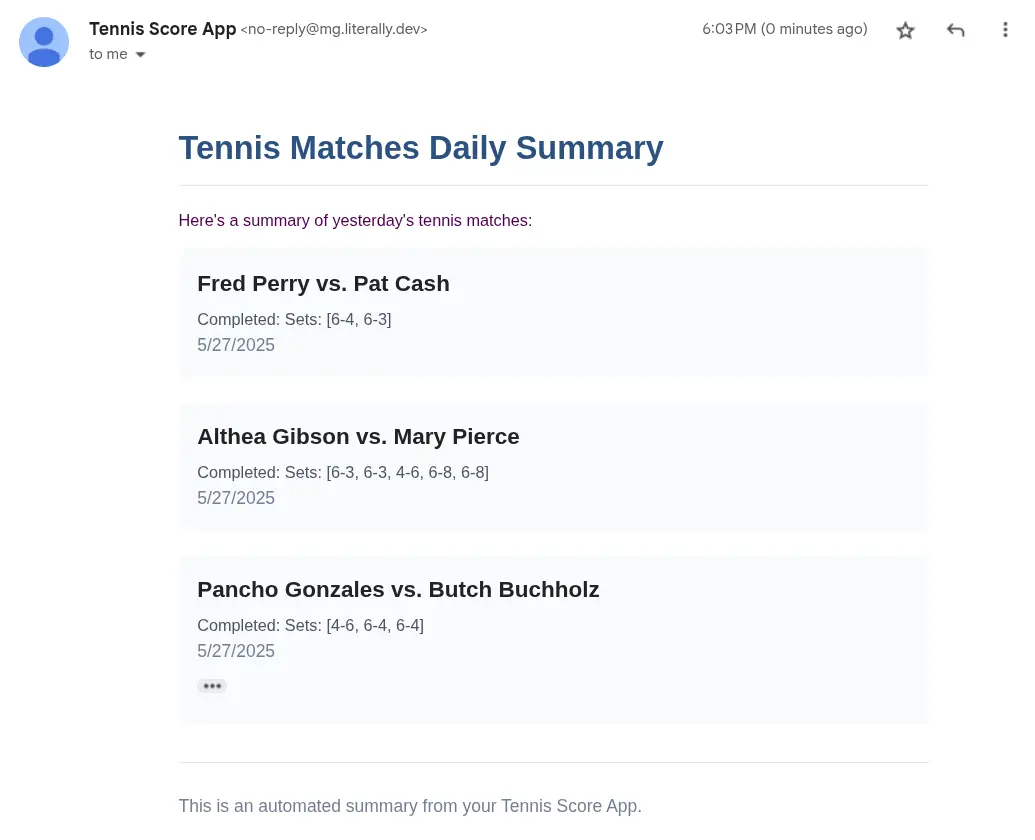
Since this is a new account without any record of previous day's matches, the summary will be empty.
By default, the feature sends the email immediately for easier testing and development. I'll walk you through the implementation below.
Two resources in the main.wasp file do the heavy lifting for us: an action and a job.
// main.wasp

action scheduleEmailSummary {
  fn: import { scheduleSummaryEmail } from "@src/matches/operations",
  entities: [Match]
}

job sendEmailSummaryJob {
  executor: PgBoss,
  perform: {
    fn: import { sendEmailSummary } from "@src/workers/schedule",
  },
  entities: [Match]
}
The sendEmailSummary job retrieves matches, converts the results into a human-readable format, and delivers the email through Mailgun.
// src/workers/schedule.ts

export const sendEmailSummary: SendEmailSummaryJob<Input, void> = async (
  { email },
  context
) => {
  // Find yesterday's completed matches
  const matches = await context.entities.Match.findMany({
	  // ...
    // Query
  })

  // Generate summary
  const { textContent, htmlContent } = generateMatchSummary(matches)

  // Send Summary
  const summary = await emailSender.send({
    // ...
    // Config
    text: textContent,
    html: htmlContent,
  })
}
The scheduleEmailSummary action on the other hand controls when the code associated with the job should be executed
// src/matches/operations.ts

export const scheduleEmailSummary = async (_, context) => {
  // ...

  const { email } = context.user

  // ...

  // TODO: Update this date with the value you need (for example, tomorrow morning)
  const sendAt = new Date().toISOString()

  await sendEmailSummaryJob.delay(sendAt).submit({
    email,
  })
}
As you can see above, the sendAt variable determines the job's execution time. Just provide a date to the delay() function, and the job will execute at that specified time.
This is the meat and potatoes of the functionality, the only thing left is to decide when are you going to run the scheduleEmailSummary action.
I chose to simply hook it up to a button click listener, but you can let your imagination run wild and call it from wherever you want in the code.
You can find the current implementation in the IndexPage.tsx file.
// src/matches/IndexPage.tsx
import { scheduleEmailSummary } from 'wasp/client/operations'

// ...
const handleScheduleSummaryEmailClick = () => {
  // Call the action
  scheduleEmailSummary()
    .then(() => {
      // ...
    })
    .catch((error) => {
      // ...
    })
    .finally(() => {
      // ...
    })
}

// ...
<button
  onClick={handleScheduleSummaryEmailClick}
  // ...
>
That's all it takes — just a few lines of code to set up lightweight job scheduling. This implementation demonstrates the core functionality, but you can easily customize it to match your specific needs.
Finding this article useful?
Wasp team is working hard to create content like this, not to mention building a modern, open-source React/NodeJS framework.
The easiest way to show your support is just to star Wasp repo! 🐝 Click on the button below to give Wasp a star and show your support!

How to Create CRON Jobs with Wasp
If that seemed easy, you're going to like what comes next.
Setting up a recurring job is even simpler than a scheduled job, because we don't need an action to execute it. We can simply define the interval in the job declaration.

Define your job like this:
// main.wasp

job sendEmailSummaryJob {
  executor: PgBoss,
  perform: {
    fn: import { sendEmailSummary } from "@src/workers/cron",
  },
  schedule: { cron: "0 8 * * *" }, // <-- Notice the `cron` expression here
  entities: [Match]
}
The import statement connects to the function that will run according to the specified cron schedule. Here's how the function works:
// src/workers/cron.ts

export const sendEmailSummary: SendEmailSummaryJob<{}, void> = async (
  _,
  context
) => {
  // Fetch all users with email summaries enabled
  const usersWithSummaryEnabled = await context.entities.User.findMany({
    // ...
    // Query
  })

  // Find yesterday's completed matches
  const matches = await context.entities.Match.findMany({
    // ...
    // Query
  })

  // Generate summary
  const { textContent, htmlContent } = generateMatchSummary(matches)

  // Send emails to all users with summaries enabled
  for (const user of usersWithSummaryEnabled) {
    await emailSender.send({
      // Config
      // ...
      to: user.email,
      text: textContent,
      html: htmlContent,
    })
  }
}
That's it! Your function will now execute automatically according to the schedule you specified in the cron expression.
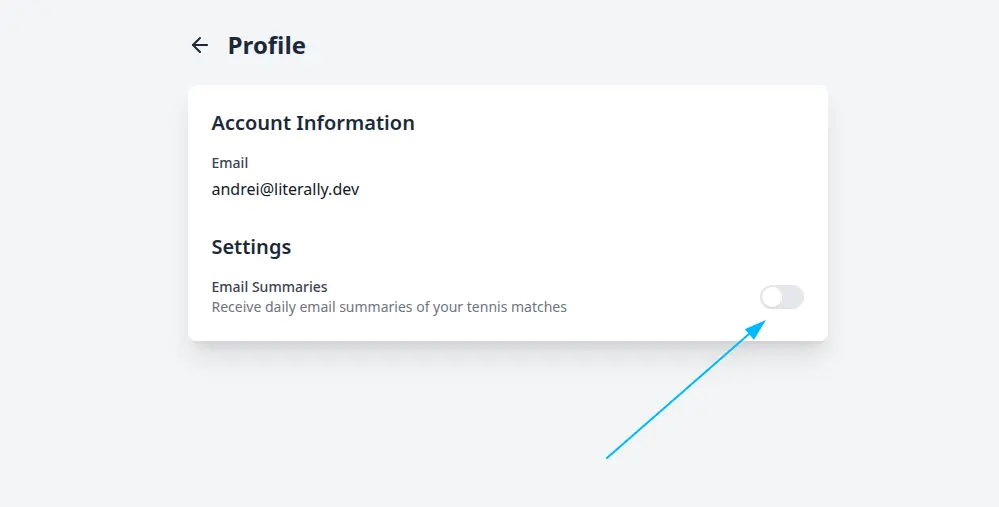
To receive game summaries in your email, go to your Profile page and enable them using the toggle switch under Settings as shown in the screenshot below.
Conclusion
As we've seen, scheduling doesn't have to mean spiraling into infrastructure complexity — especially when you're looking for a lightweight solution.
Whether you're queuing up daily digests, reminders, or any time-based workflow, the setup is refreshingly simple:
- Define a
jobin your Wasp config. - Use
.delay()for specific future times. - Use
cronfor recurring schedules.
That's it! No need to spin up external services or maintain a separate job runner infrastructure.
So if your app needs a simple scheduling feature, let Wasp and PgBoss keep track of the clocks ticking.
GLHF!