Keycloak
Wasp supports Keycloak Authentication out of the box.
Keycloak is an open-source identity and access management solution for modern applications and services. Keycloak provides both SAML and OpenID protocol solutions. It also has a very flexible and powerful administration UI.
Let's walk through enabling Keycloak authentication, explain some of the default settings, and show how to override them.
Setting up Keycloak Auth
Enabling Keycloak Authentication comes down to a series of steps:
- Enabling Keycloak authentication in the Wasp file.
- Adding the
Userentity. - Creating a Keycloak client.
- Adding the necessary Routes and Pages
- Using Auth UI components in our Pages.
Here's a skeleton of what our main.wasp.ts should look like after we're done:
import { app, page, route } from "@wasp.sh/spec"
import { LoginPage } from "./src/pages/auth" with { type: "ref" }

// Configuring the social authentication
export default app({
  name: "myApp",
  wasp: { version: "^0.25" },
  title: "My App",
  head: ["<link rel='icon' href='/favicon.ico' />"],
  auth: {
    // ...
  },
  spec: [
    // Defining routes and pages
    route("LoginRoute", "/login", page(LoginPage)),
  ],
})
1. Adding Keycloak Auth to Your Wasp File
Let's start by properly configuring the Auth object:
import { app } from "@wasp.sh/spec"

export default app({
  name: "myApp",
  wasp: { version: "^0.25" },
  title: "My App",
  head: ["<link rel='icon' href='/favicon.ico' />"],
  auth: {
    // 1. Specify the User entity (we'll define it next)
    userEntity: "User",
    methods: {
      // 2. Enable Keycloak Auth
      keycloak: {}
    },
    onAuthFailedRedirectTo: "/login"
  },
  // ...
})
userEntity is explained in the social auth overview.
2. Adding the User Entity
Let's now define the auth.userEntity entity in the schema.prisma file:
// 3. Define the user entity
model User {
  id Int @id @default(autoincrement())
  // Add your own fields below
  // ...
}
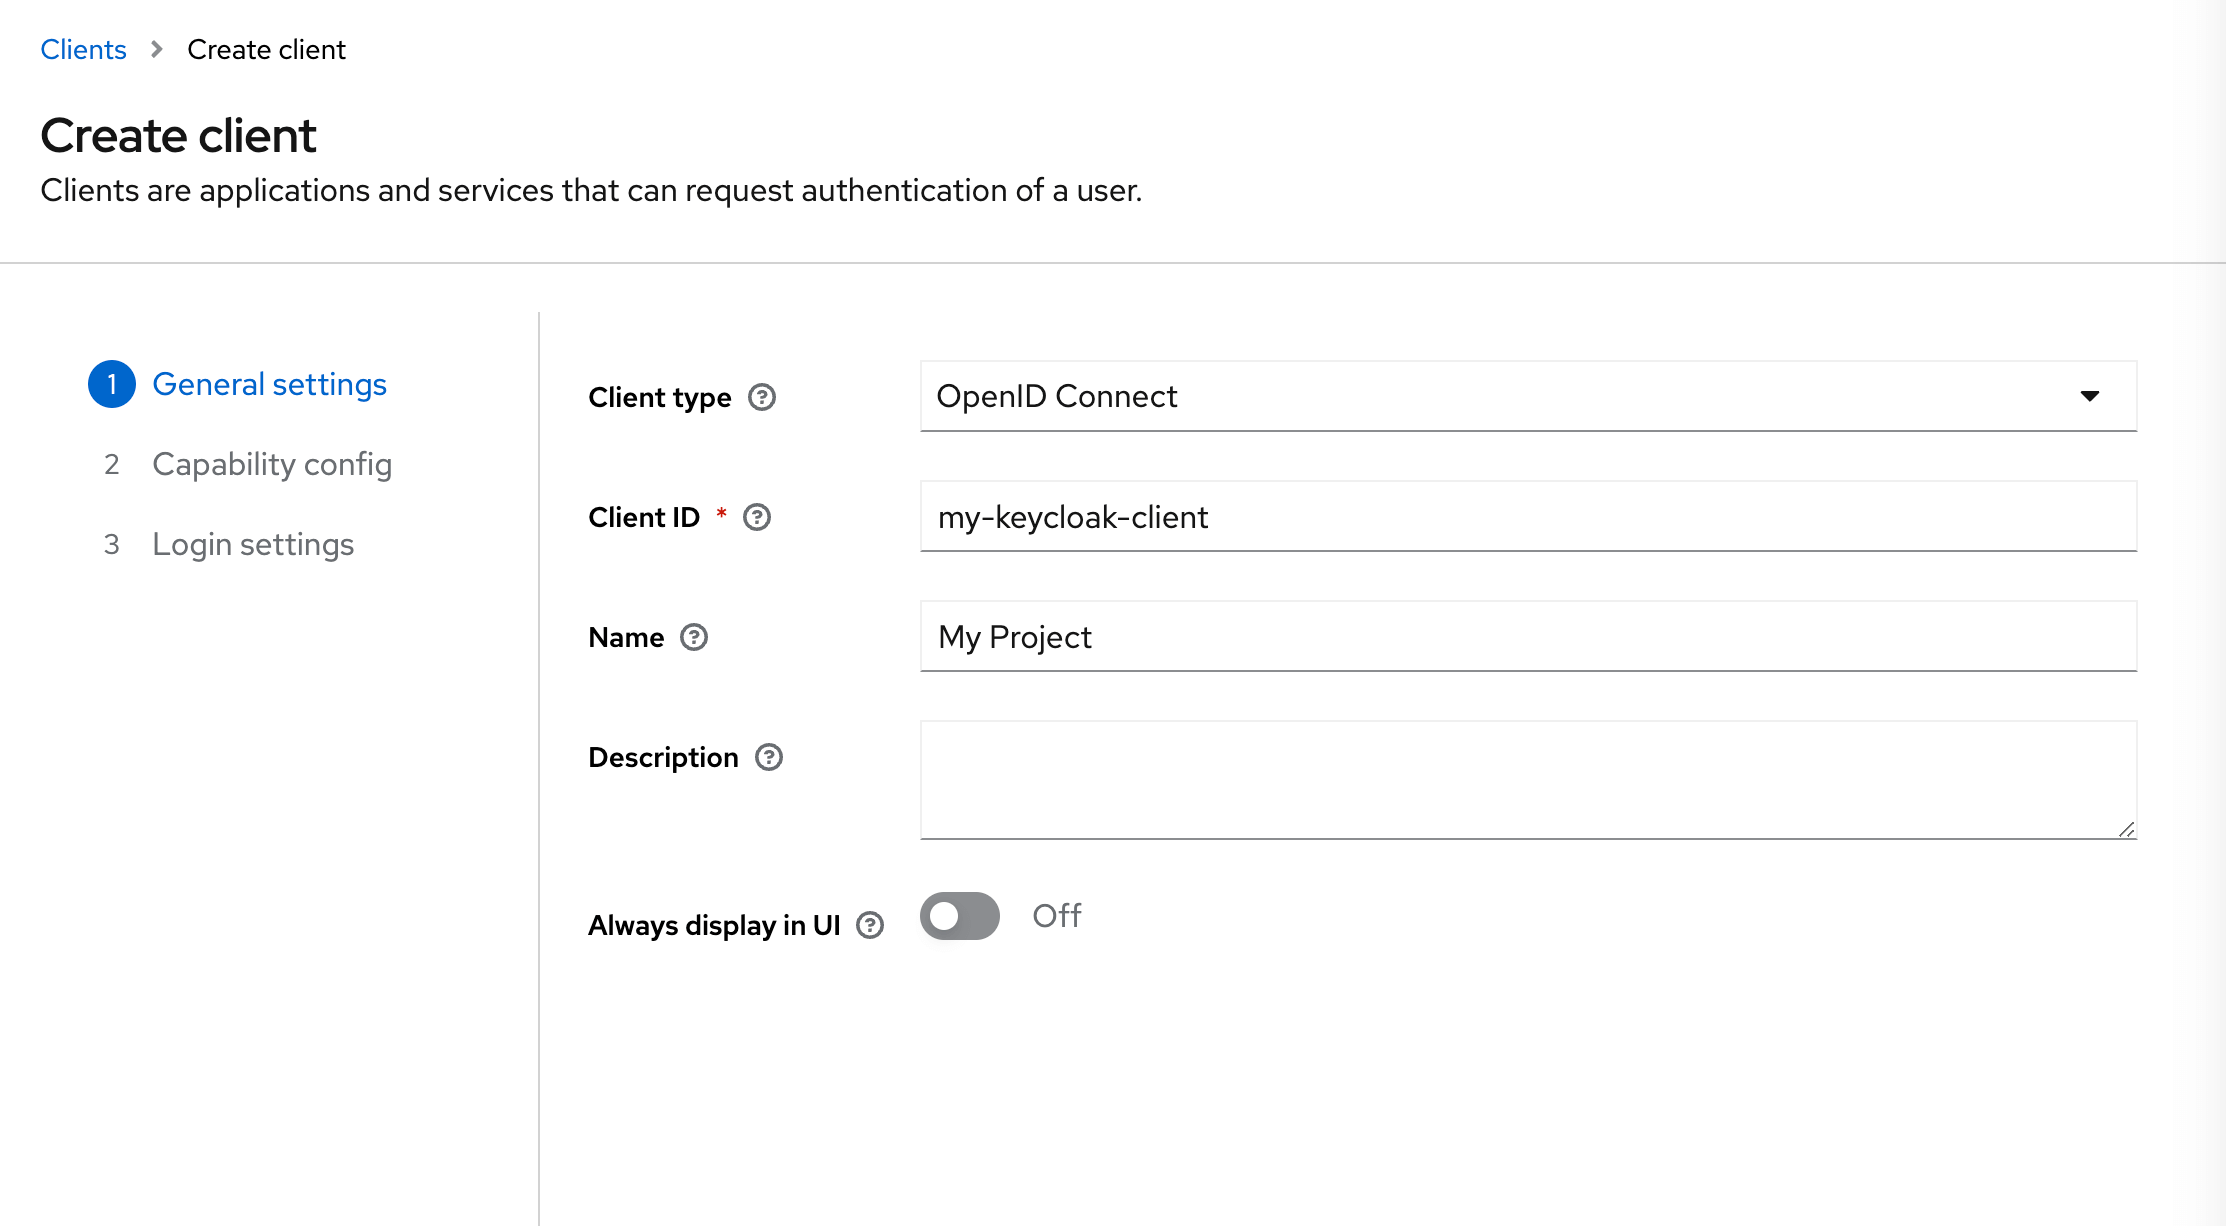
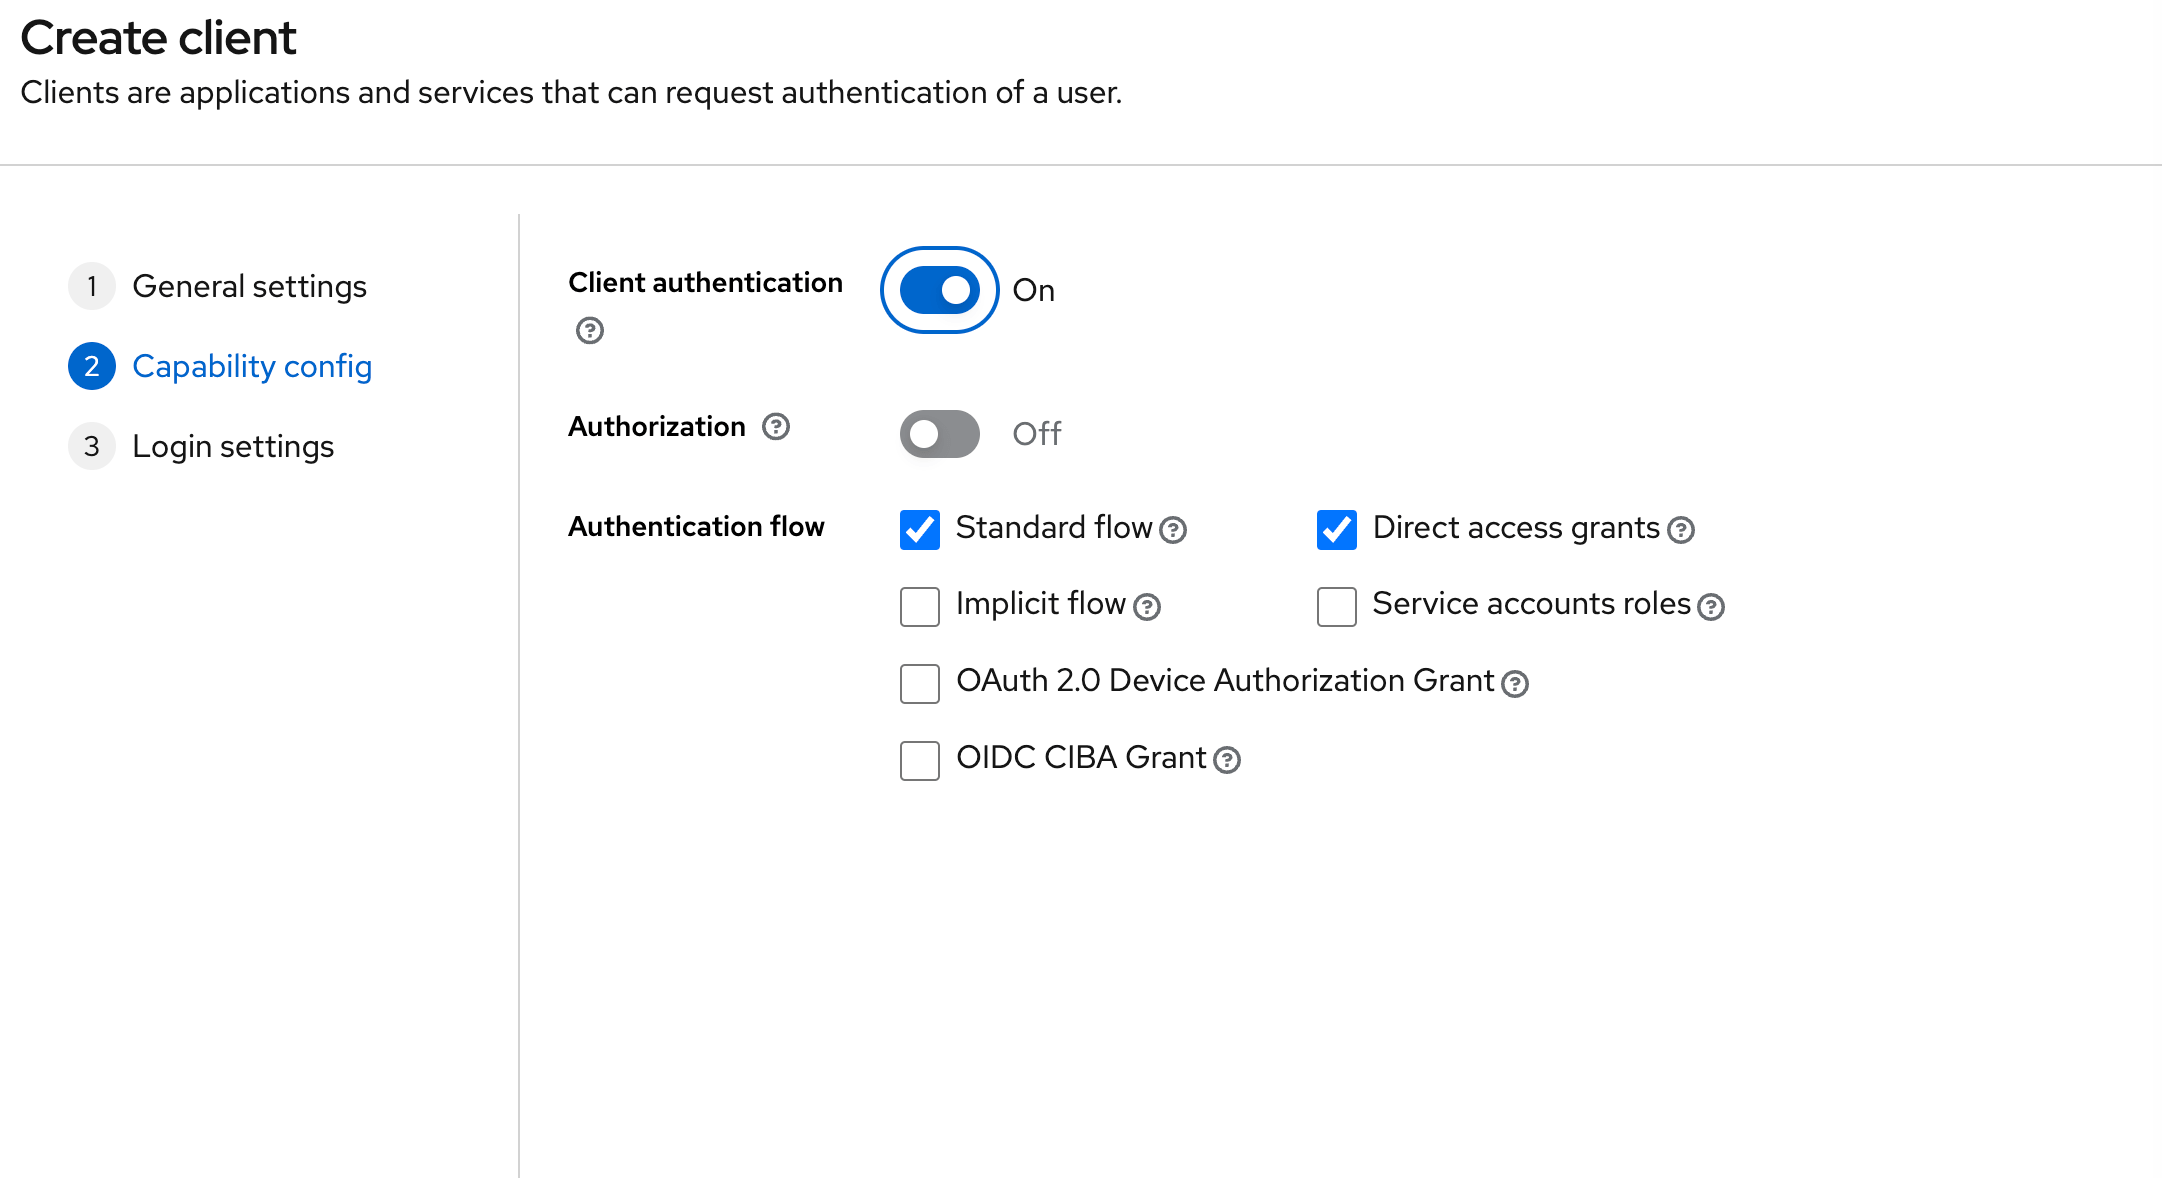
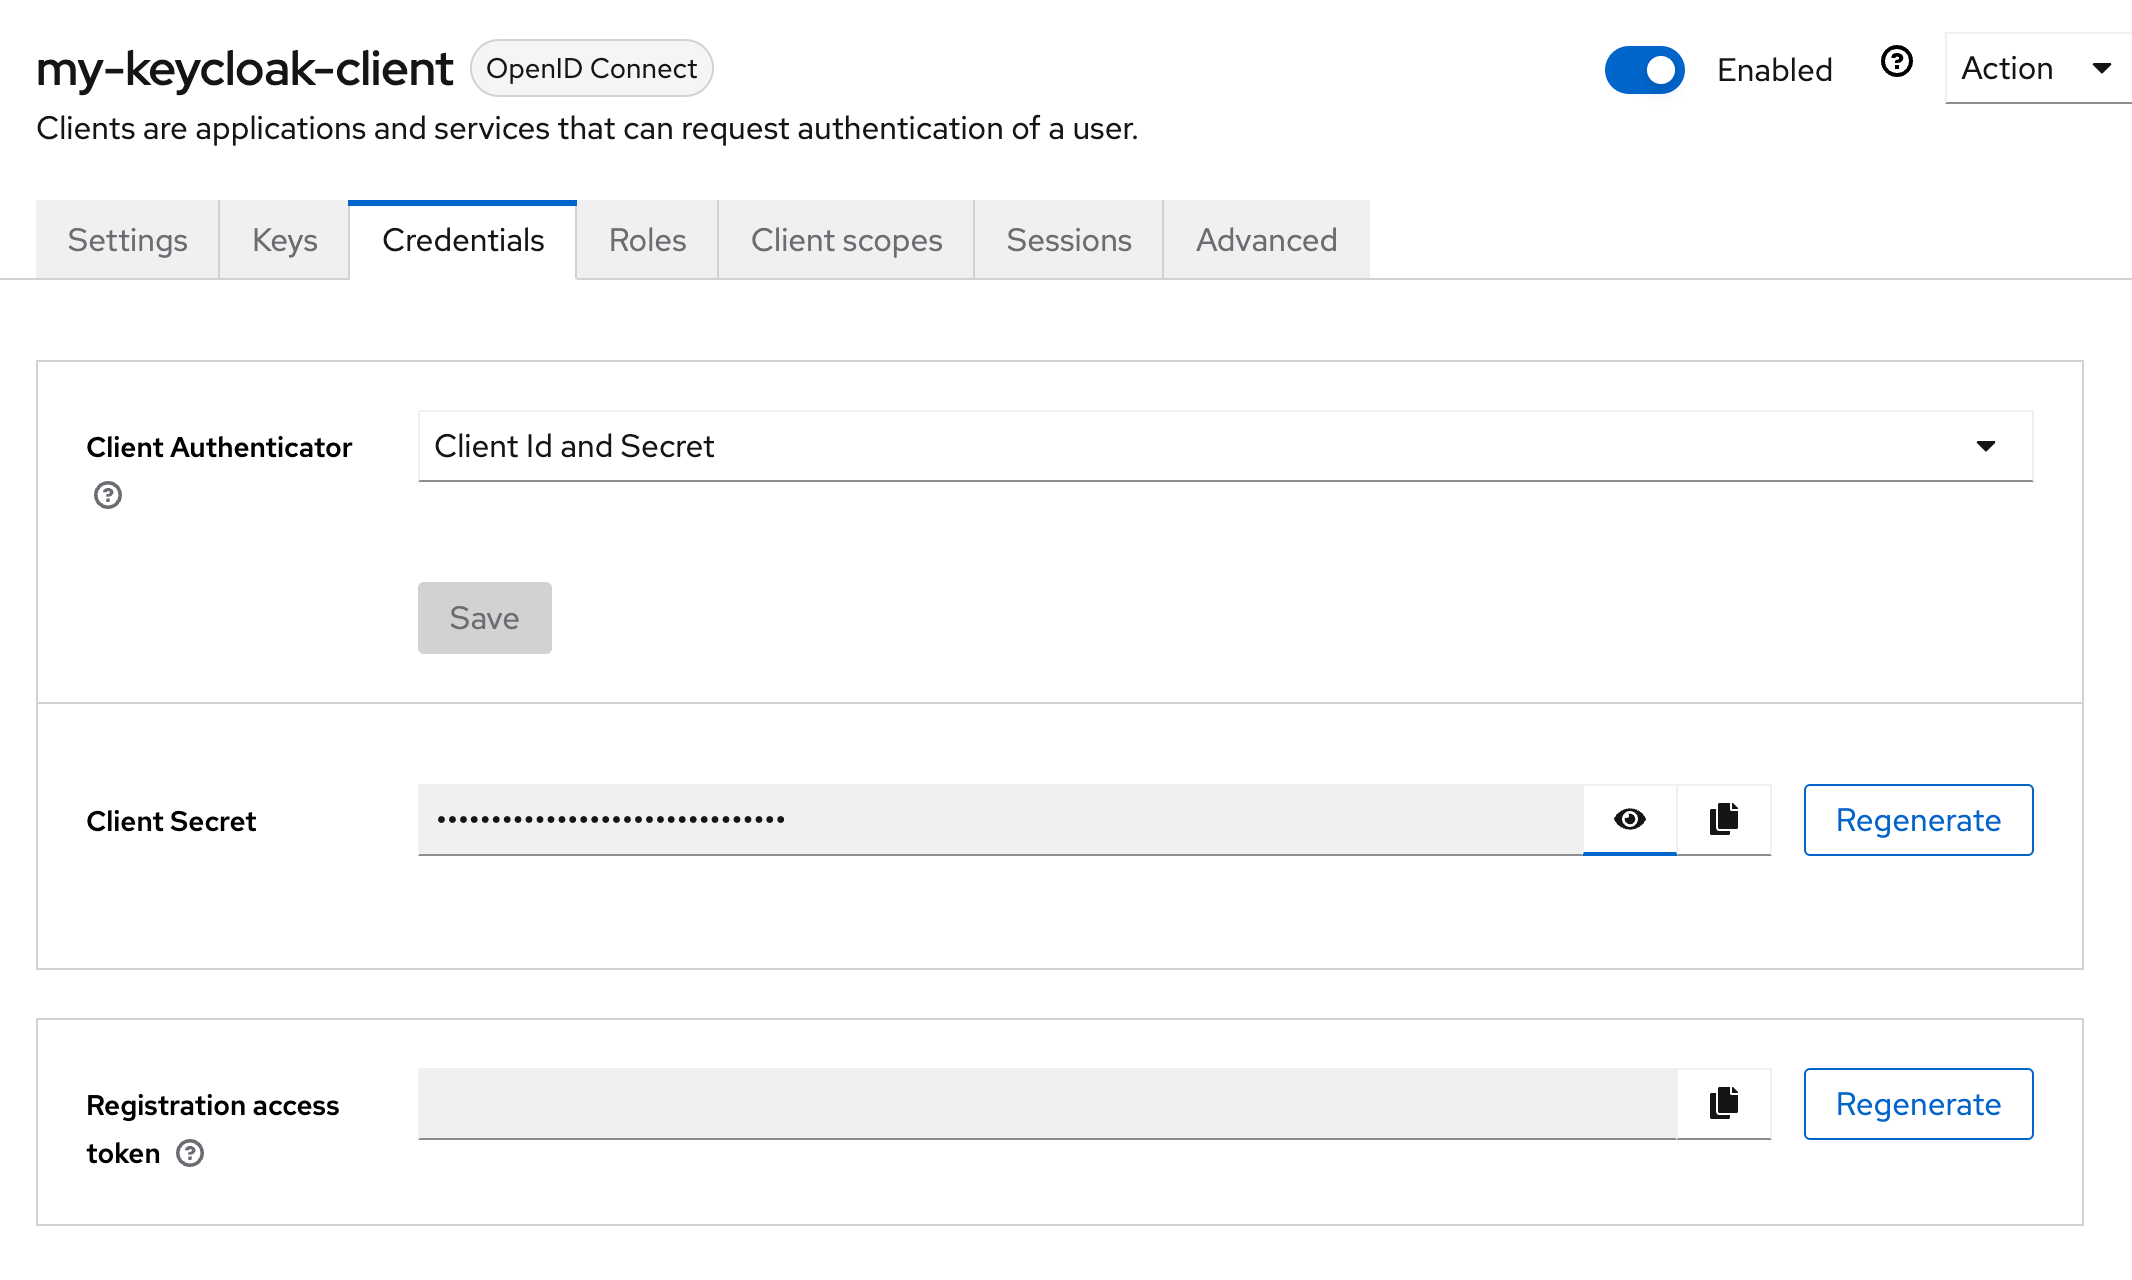
3. Creating a Keycloak Client
- Log into your Keycloak admin console.
- Under Clients, click on Create Client.

- Fill in the Client ID and choose a name for the client.
- In the next step, enable Client Authentication.
- Under Valid Redirect URIs, add
http://localhost:3001/auth/keycloak/callbackfor local development.
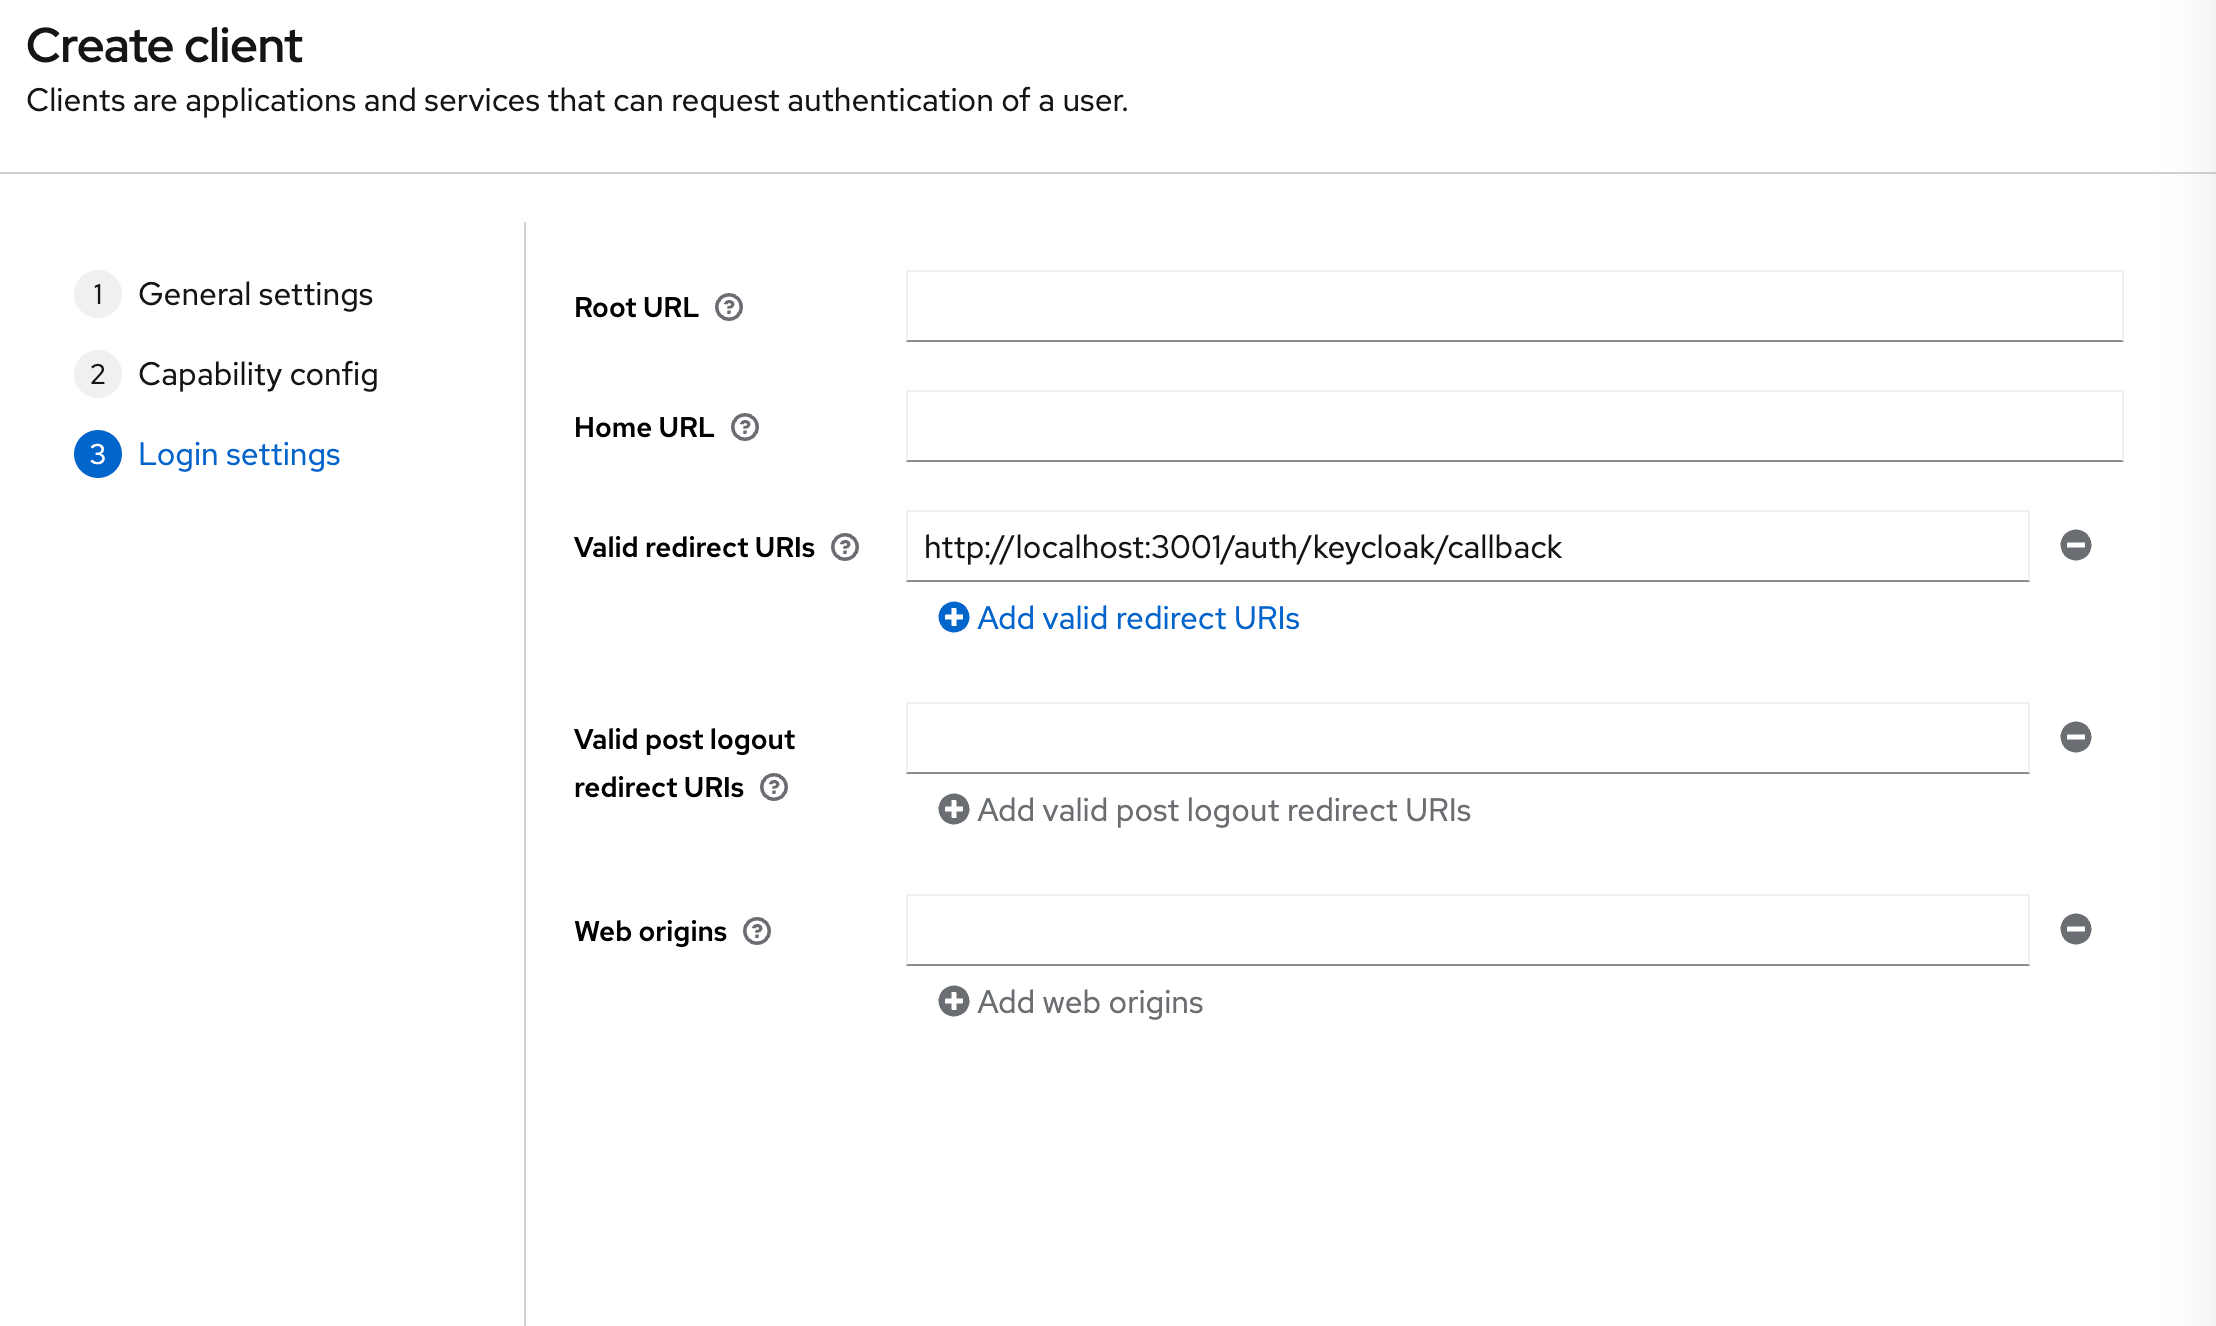
- Once you know on which URL(s) your API server will be deployed, also add those URL(s).
- For example:
https://my-server-url.com/auth/keycloak/callback.
- Click Save.
- In the Credentials tab, copy the Client Secret value, which we'll use in the next step.
4. Adding Environment Variables
Add these environment variables to the .env.server file at the root of your project (take their values from the previous step):
KEYCLOAK_CLIENT_ID=your-keycloak-client-id
KEYCLOAK_CLIENT_SECRET=your-keycloak-client-secret
KEYCLOAK_REALM_URL=https://your-keycloak-url.com/realms/master
We assumed in the KEYCLOAK_REALM_URL env variable that you are using the master realm. If you are using a different realm, replace master with your realm name.
5. Adding the Necessary Routes and Pages
Let's define the necessary authentication Routes and Pages.
Add the following code to your main.wasp.ts file:
import { app, page, route } from "@wasp.sh/spec"
import { LoginPage } from "./src/pages/auth" with { type: "ref" }

export default app({
  // ...
  spec: [
    route("LoginRoute", "/login", page(LoginPage)),
  ],
})
We'll define the React components for these pages in the src/pages/auth.tsx file below.
6. Create the Client Pages
We are using Tailwind CSS to style the pages. Read more about how to add it here.
Let's create a auth.tsx file in the src/pages folder and add the following to it:
- JavaScript
- TypeScript
import { LoginForm } from "wasp/client/auth";

export function LoginPage() {
  return (
    <Layout>
      <LoginForm />
    </Layout>
  );
}

// A layout component to center the content
export function Layout({ children }) {
  return (
    <div className="h-full w-full bg-white">
      <div className="flex min-h-[75vh] min-w-full items-center justify-center">
        <div className="h-full w-full max-w-sm bg-white p-5">
          <div>{children}</div>
        </div>
      </div>
    </div>
  );
}
import type { ReactNode } from "react";
import { LoginForm } from "wasp/client/auth";

export function LoginPage() {
  return (
    <Layout>
      <LoginForm />
    </Layout>
  );
}

// A layout component to center the content
export function Layout({ children }: { children: ReactNode }) {
  return (
    <div className="h-full w-full bg-white">
      <div className="flex min-h-[75vh] min-w-full items-center justify-center">
        <div className="h-full w-full max-w-sm bg-white p-5">
          <div>{children}</div>
        </div>
      </div>
    </div>
  );
}
We imported the generated Auth UI components and used them in our pages. Read more about the Auth UI components here.
Conclusion
Yay, we've successfully set up Keycloak Auth!
Running wasp db migrate-dev and wasp start should now give you a working app with authentication.
To see how to protect specific pages (i.e., hide them from non-authenticated users), read the docs on using auth.
Default Behaviour
Add keycloak: {} to the auth.methods object to use it with default settings:
import { app } from "@wasp.sh/spec"

export default app({
  name: "myApp",
  wasp: { version: "^0.25" },
  title: "My App",
  head: ["<link rel='icon' href='/favicon.ico' />"],
  auth: {
    userEntity: "User",
    methods: {
      keycloak: {}
    },
    onAuthFailedRedirectTo: "/login"
  },
  // ...
})
When a user signs in for the first time, Wasp creates a new user account and links it to the chosen auth provider account for future logins.
Overrides
By default, Wasp doesn't store any information it receives from the social login provider. It only stores the user's ID specific to the provider.
There are two mechanisms used for overriding the default behavior:
userSignupFieldsconfigFn
Let's explore them in more detail.
Data Received From Keycloak
We are using Keycloak's API and its /userinfo endpoint to fetch the user's data.
{
sub: "5adba8fc-3ea6-445a-a379-13f0bb0b6969",
email_verified: true,
name: "Test User",
preferred_username: "test",
given_name: "Test",
family_name: "User",
}
The fields you receive will depend on the scopes you requested. The default scope is set to profile only. If you want to get the user's email, you need to specify the email scope in the configFn function.
For up-to-date info about the data received from Keycloak, please refer to the Keycloak API documentation.
Using the Data Received From Keycloak
When a user logs in using a social login provider, the backend receives some data about the user.
Wasp lets you access this data inside the userSignupFields getters.
For example, the User entity can include a displayName field which you can set based on the details received from the provider.
Wasp also lets you customize the configuration of the providers' settings using the configFn function.
Let's use this example to show both fields in action:
import { app } from "@wasp.sh/spec"
import { getConfig, userSignupFields } from "./src/auth/keycloak" with { type: "ref" }

export default app({
  name: "myApp",
  wasp: { version: "^0.25" },
  title: "My App",
  head: ["<link rel='icon' href='/favicon.ico' />"],
  auth: {
    userEntity: "User",
    methods: {
      keycloak: {
        configFn: getConfig,
        userSignupFields
      }
    },
    onAuthFailedRedirectTo: "/login"
  },
  // ...
})
model User {
  id          Int    @id @default(autoincrement())
  username    String @unique
  displayName String
}

// ...
- JavaScript
- TypeScript
import { defineUserSignupFields } from "wasp/server/auth";

export const userSignupFields = defineUserSignupFields({
  username: () => "hardcoded-username",
  displayName: (data) => data.profile.name,
});

export function getConfig() {
  return {
    scopes: ["profile", "email"],
  };
}
import { defineUserSignupFields } from "wasp/server/auth";

export const userSignupFields = defineUserSignupFields({
  username: () => "hardcoded-username",
  displayName: (data: any) => data.profile.name,
});

export function getConfig() {
  return {
    scopes: ["profile", "email"],
  };
}
Wasp automatically generates the defineUserSignupFields function to help you correctly type your userSignupFields object.
Using Auth
To read more about how to set up the logout button and get access to the logged-in user in both client and server code, read the docs on using auth.
When you receive the user object on the client or the server, you'll be able to access the user's Keycloak ID like this:
const keycloakIdentity = user.identities.keycloak

// Keycloak User ID for example "12345678-1234-1234-1234-123456789012"
keycloakIdentity.id
Read more about accessing the user data in the Accessing User Data section of the docs.
API Reference
SocialAuthConfig »
All the options for the keycloak auth method.
For the provider-specific behavior of the configFn and userSignupFields functions, check the Overrides section. For behavior common to all providers, check the Social Auth Overview.